As I alluded to earlier if I had needed to buy the sails that would have been a deal breaker for this project. Whether on eBay or Bricklink the price for sails is obscene. Painful as it is this makes perfect sense as sails are the ultimate exclusive part; each one is unique to its particular set alone. Some shapes and sizes a shared but the design is particular to each ship. With such a limited supply the cost is bound to be high.
On most things I am a purist. You will not find a single Megablock, Tyco or other cheap imitation piece in my collection. However, as I mentioned earlier I am not opposed to changing the color of an official Lego piece (and am doing so on this project) and I am also not opposed to creating my own custom parts when I can do it at the same level of quality as Lego. With the sails and flags I am in a unique position in that I have a fashion designer as a wife which gives me access to some expert knowledge and work as an engineer which gives me access to some fairly high end software, both of which I will put to good use. I am certain I can make top quality replicas.
My first stop is http://www.classic-pirates.com/ and their excellent library of 1:1 scans of all the Lego sails from every ship Lego has produced. After downloading those I import them into a computer aided drafting (CAD) program that I use for work. I then painstakingly trace them down to the smallest detail saving the final product as a PDF.
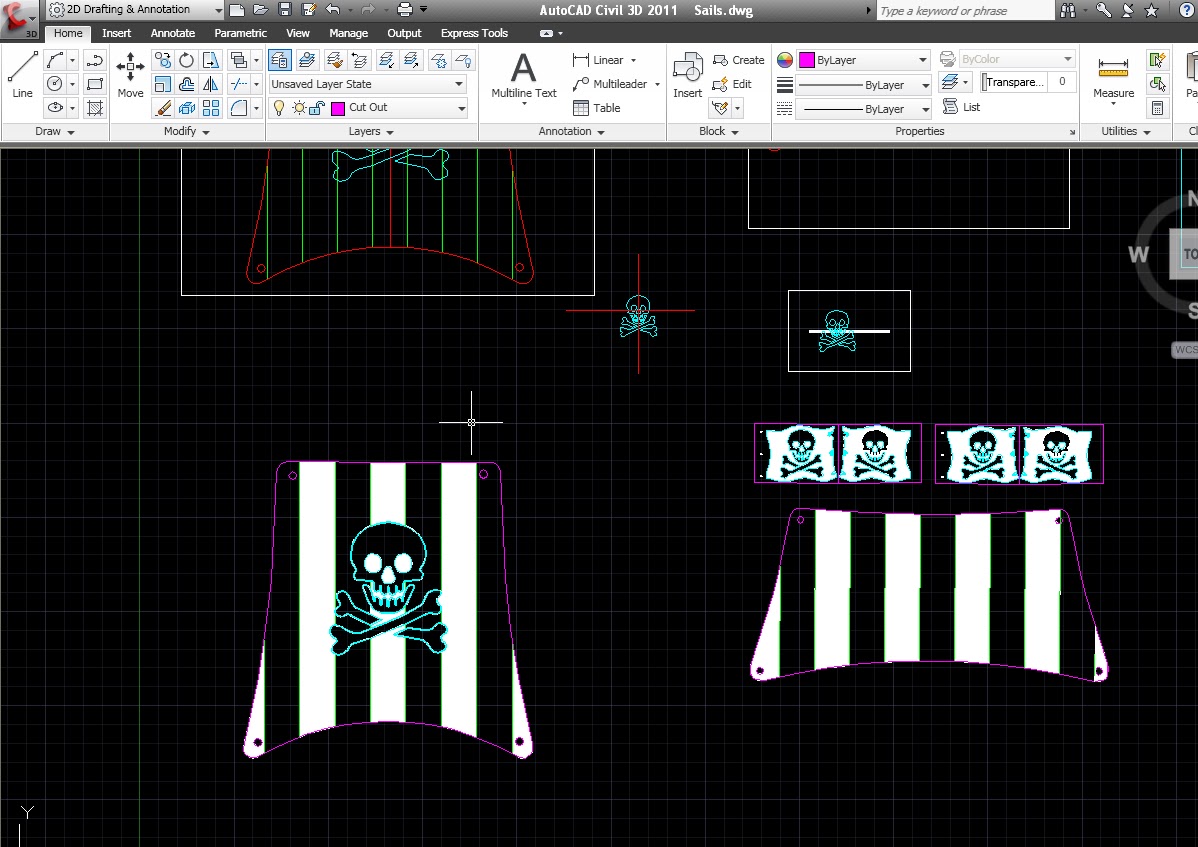 |
| Screen shot of sail tracing |
Ok now for the material. This is where my wife and her textile training comes in. What is that mysterious not quite paper but not quite fabric material Lego sails are made of? The answer? Artist's canvas. Yes that material is the same stuff as those large canvases you see hanging in museums with all manner of wet media spread across them. A quick stop at my local hobby shop and I have a pad of artist's canvas with more than enough sheets.

I insert those sheets into my home printer and must confess that even I am taken aback by the perfection of the result. Out of the machine come a set of sails indistinguishable from the originals for my soon to be constructed schooner. Some quick work with my beloved bride's extra sharp scissors and I have a full set of sails for under $8.00!


For those of you interested in trying something like this project yourself I will post, in a later entry, detailed step by step instructions for how to make your own Lego sails from scratch as there are some particulars and pitfalls you should be aware of.
The parts are here and after a little painting I have before me the final product, I will post final pictures, including the few modifications I did, as well as the final costs in my next entry.
2 comments:
I am making my own SES currently. Although I am modifying it with today's color scheme and new build techniques. But with that said, I was also going to create my own sails.
I am curious as to why you traced the sails in a computer program if they were 1:1 scans already?
Are there any tips you can give me in regards to what I should watch out for for making my sails?
Thanks. Interesting stuff on this blog.
Excellent job, sails really look like the original ones. I guess detailed guide would be very useful, because after 25-30 years many of genuine sails are partly damaged (fraying, stains). With such knowlegde you may also create some new designs/patterns for MOCs ;)
Post a Comment